Highlighting Features in Mapbox GL JS
A Comparison of Filter and Feature-State
Creating a hover effect is a great way to add interactivity to web maps. In mapbox-gl there are two main methods to accomplish this feature: setFeatureState() and setFilter(). Up until now (late 2019) I had been using the setFilter method to create a highlight and hover effect for my production web maps. These maps relied on vector-tiles generated by Mapbox, which (at the time) did not contain unique feature IDs and therefore did not work with the feature-state method.
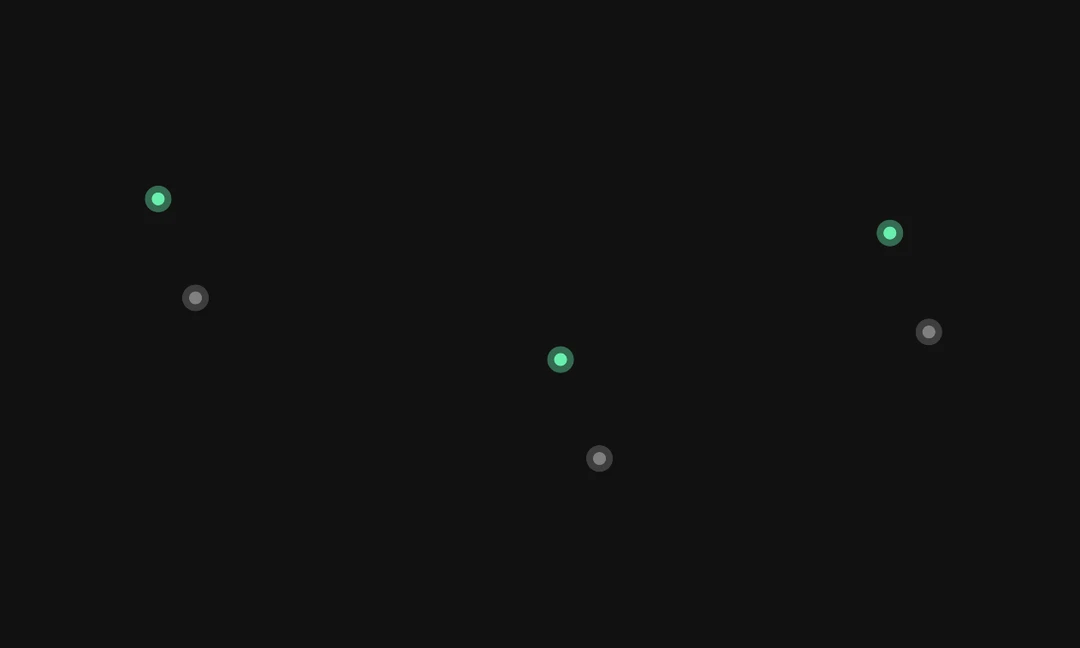
 Errors in the Mapbox hover effect using tiles built in Mapbox. See this bl.ocks example.
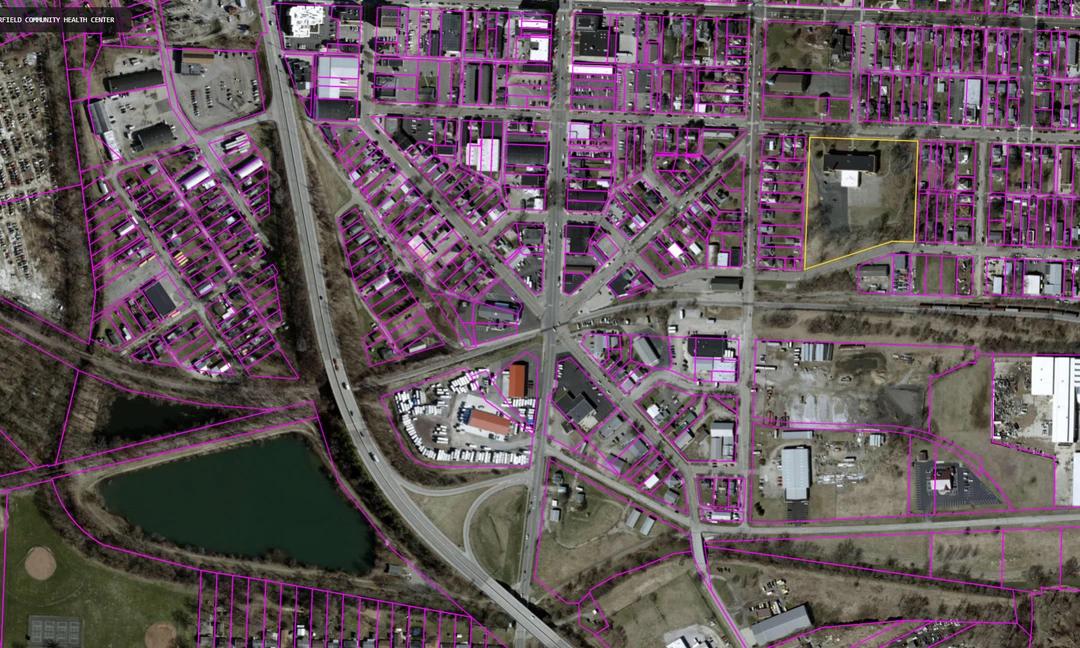
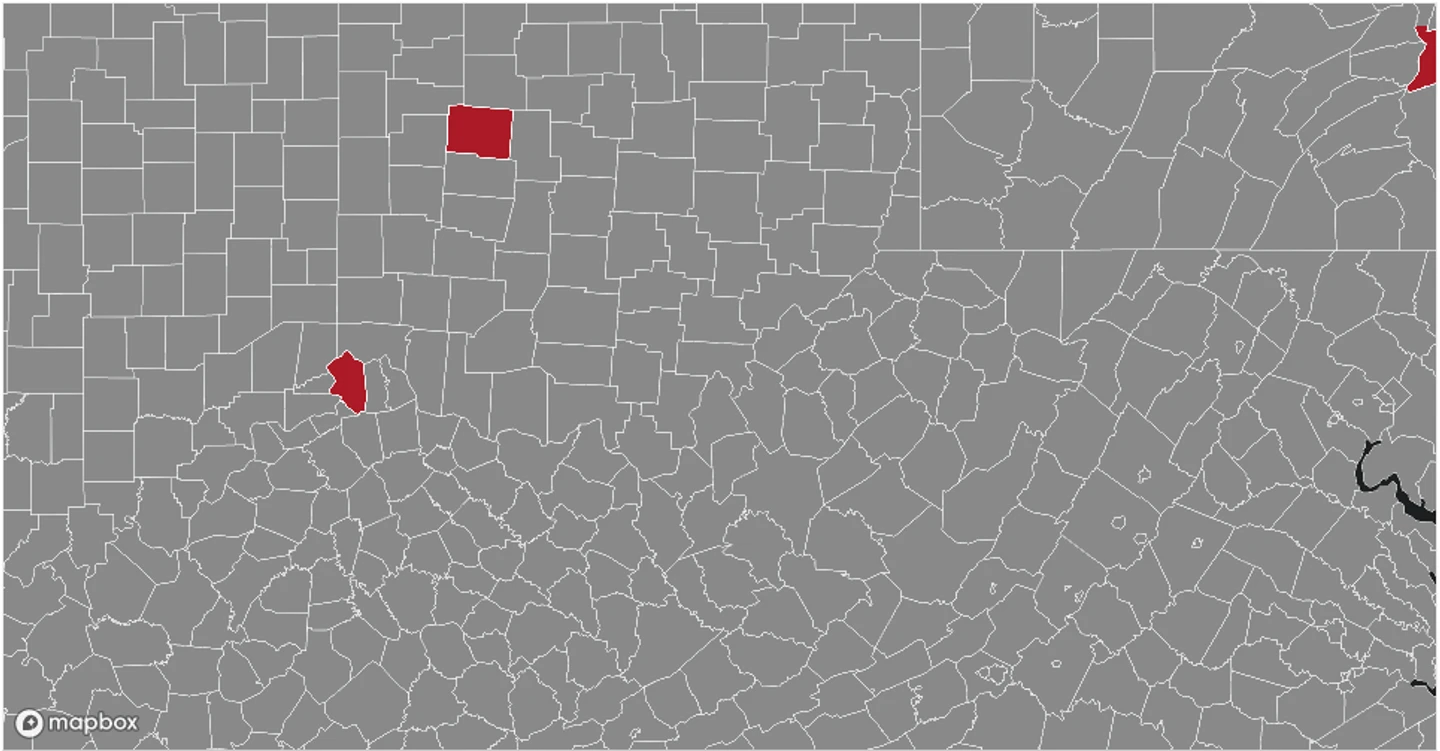
In my current setup, the setFilter method works by adding a copy of the active layer to the map. To achieve the highlight effect the layer filter is set to a unique field of the layer from the clicked or moused-over feature. An example of this method is shown in the map below.
A map with the setFilter method.
Although this method works, if the user moves quickly across the map, the filter takes a few seconds to ‘catch-up’. If this method is used just for highlighting clicked features, this lag may not be noticeable, however it is not well suited for a hover effect.
In the fall of 2019 the my production setup moved to self-hosted vector tiles, so this seemed like a perfect opportunity to test out the feature-state method. This method works similar to the filter method in that a duplicate layer is again added to the map. The duplicate layer is added to avoid having to create feature-state paint properties in all the map layers - the highlight layer is set to transparent and only highlighted on hover.
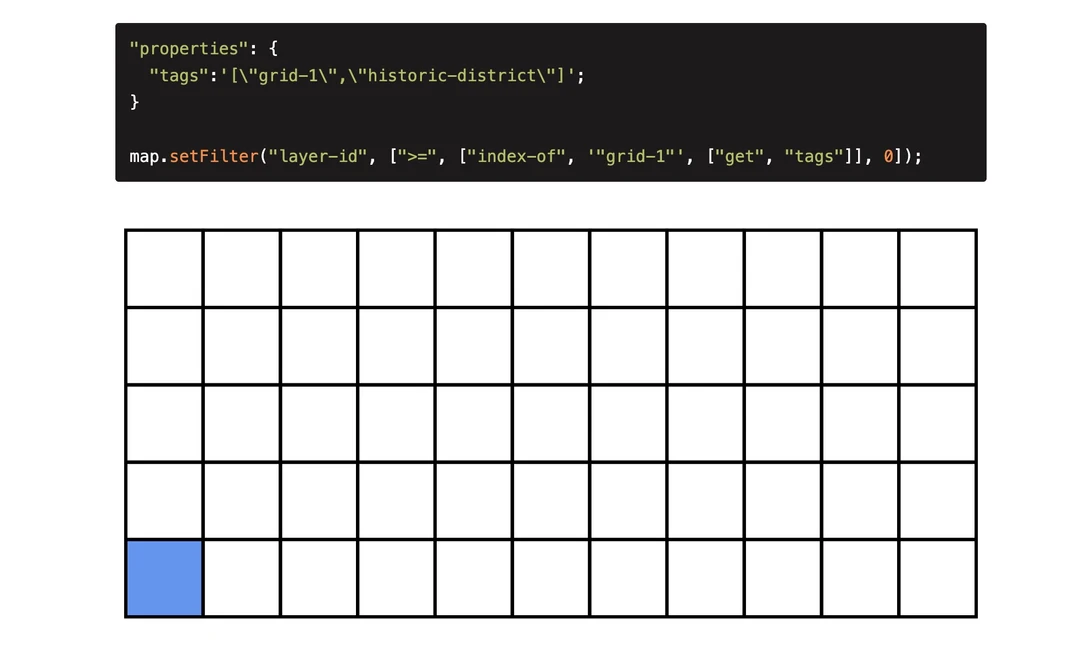
A map with the setFilter method.